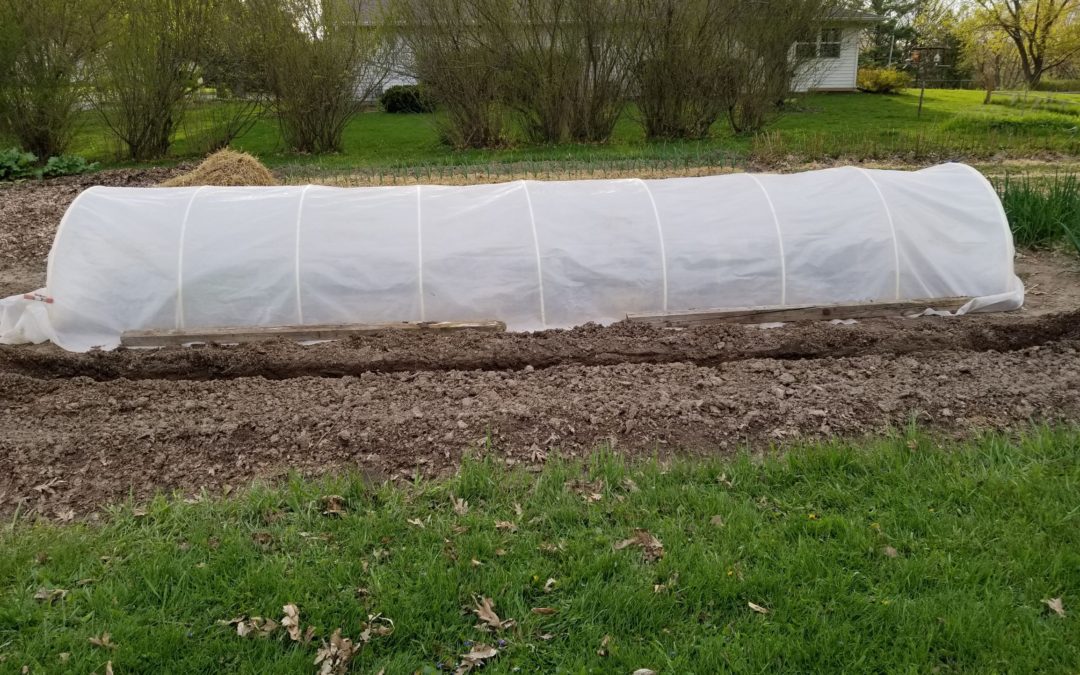
I set up a hoop tunnel on April 30th and began moving plants into it the next day.
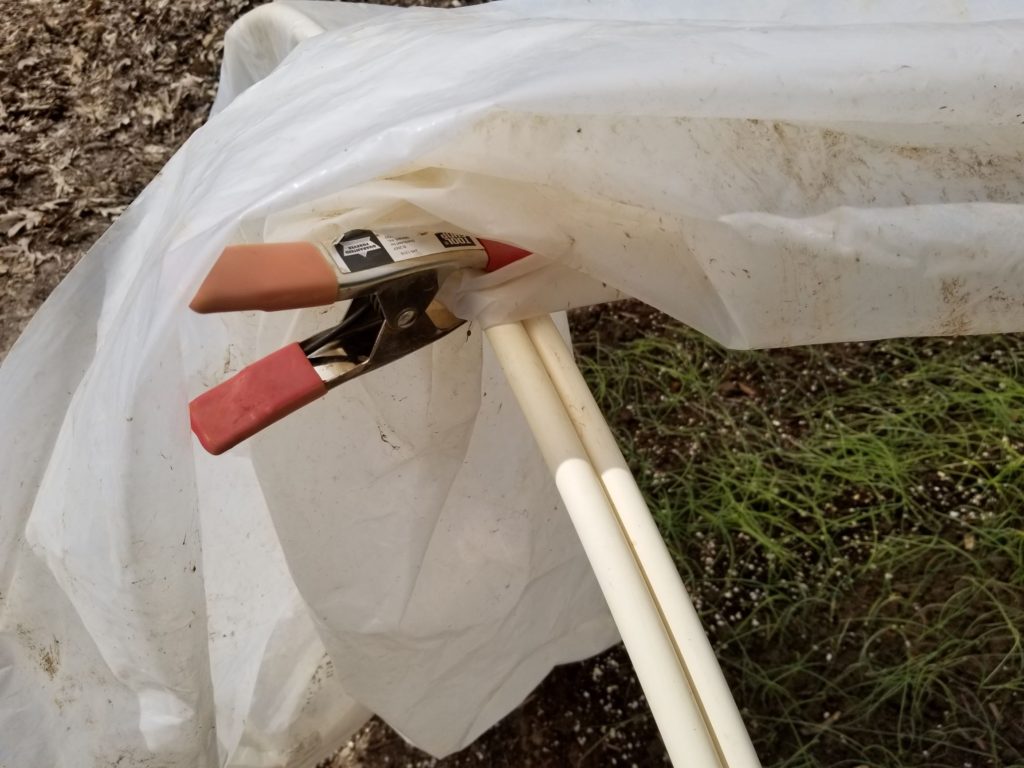
This year, I made the ends double, using two pieces of PVC tubing at each end instead of one. This provided a lot more rigidity to the whole structure and made for much easier venting and closing using welders clamps.
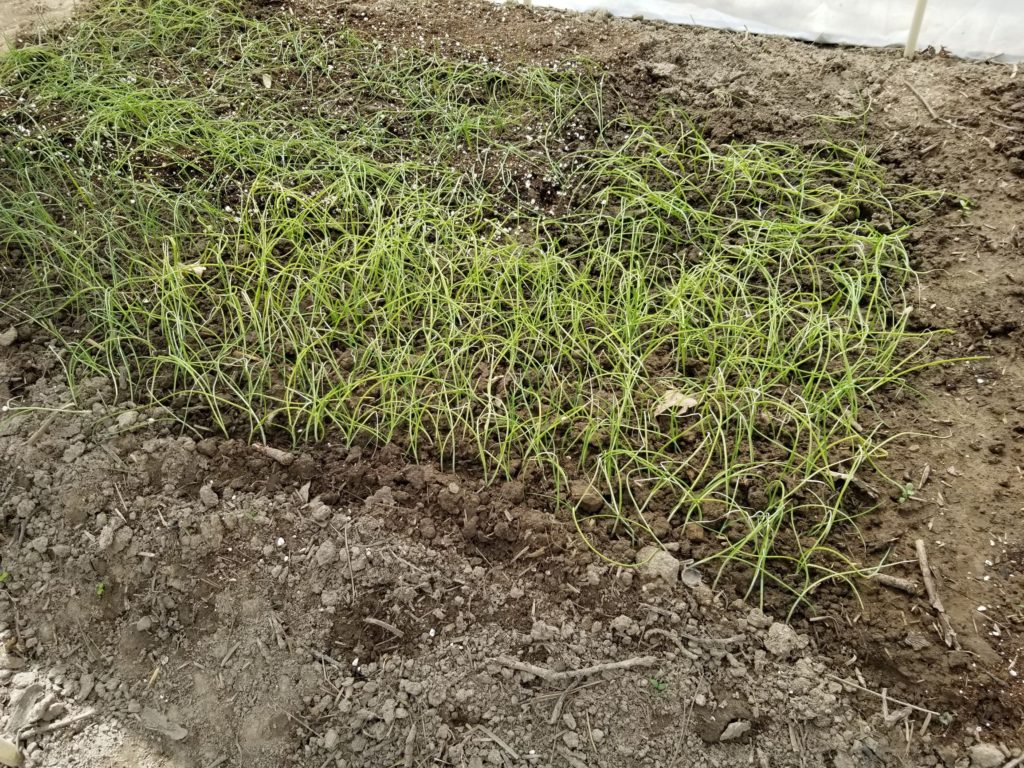
The first plants into the tunnel were onion and leeks, which I transplanted from flats to trenches.
I put in all my sweet potato starts. This could be considered risky, as sweet potatoes cannot tolerate any frost. Nighttime temperatures had been in the upper 20’s and the tunnel has kept everything warm. No issues.
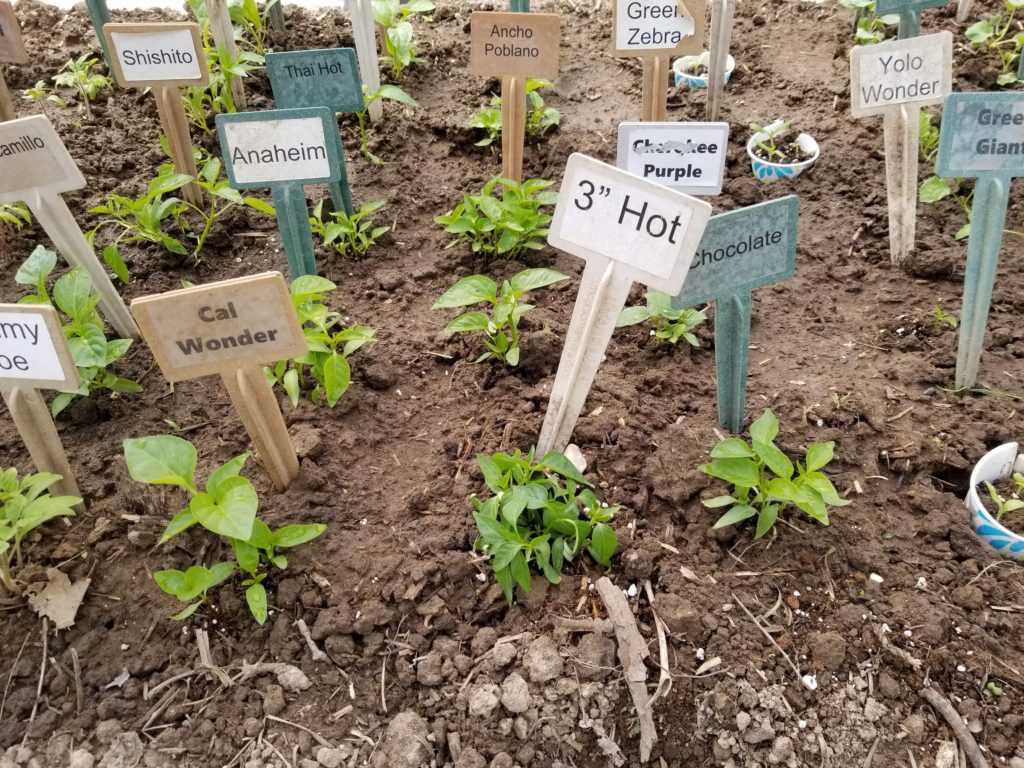
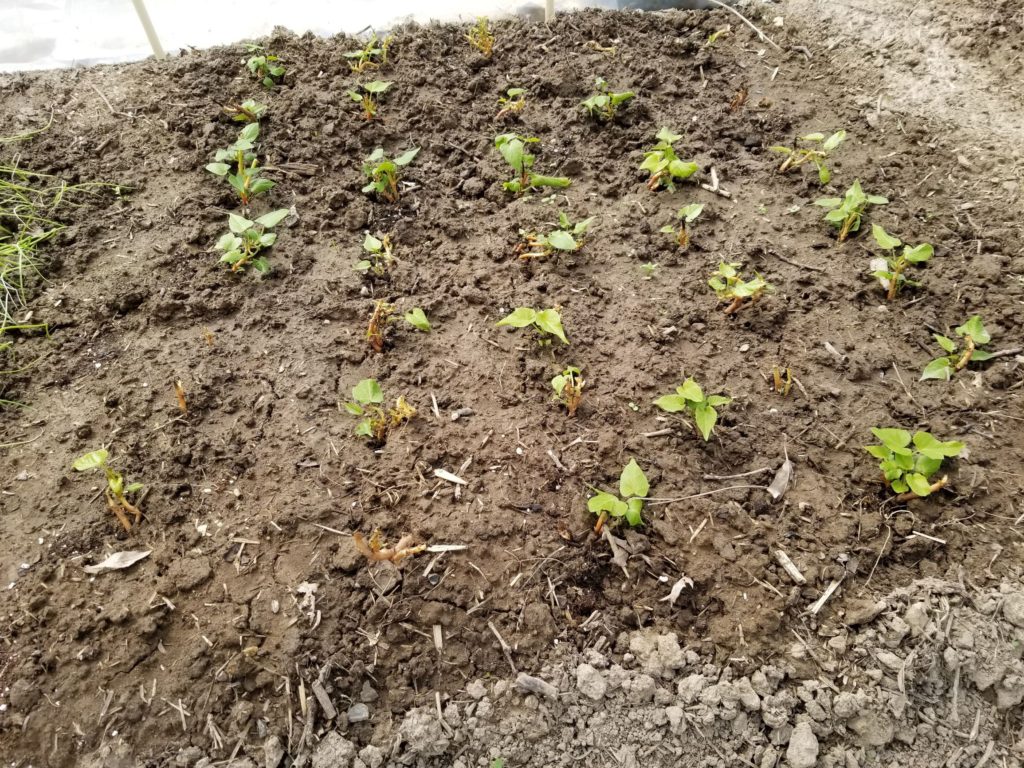
I start tomatoes, peppers, and other veggies in 5-ounce paper cups. When I move these to the tunnel, I just remove the paper and stick the starts directly into the ground without separating them. The plants experience explosive growth once transplanted. I find that it is quite easy to separate the plants as I need them when it’s time to move them to their final home.
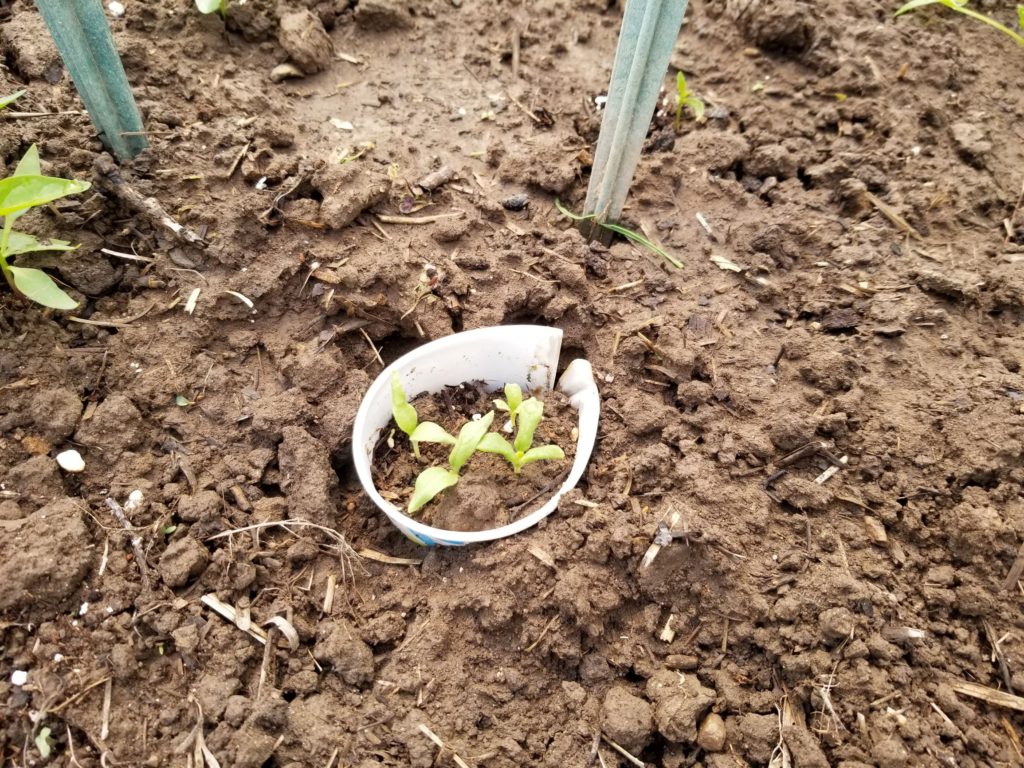
These eggplant starts were too small to handle a transplant easily , so I just split open the paper cup and ripped the bottom off before setting the cup into the soil. I can pull the paper away once the eggplants have established some roots in the soil.
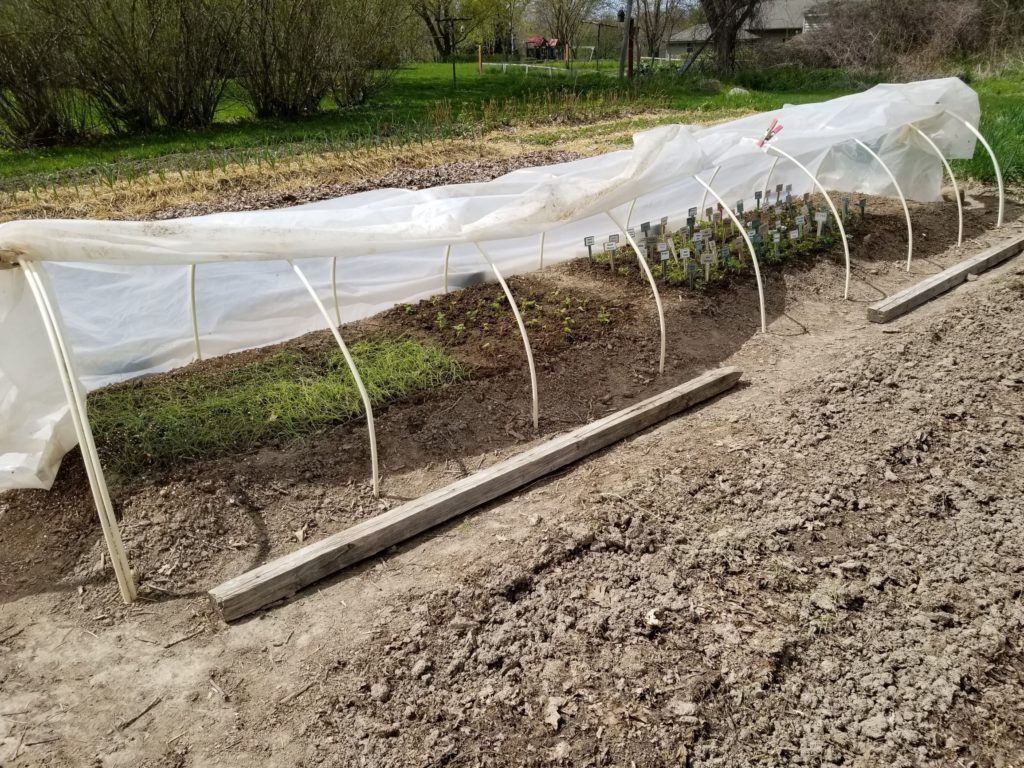
These low hoop structures are easy to build and easy to use, but they do require frequent monitoring. Plants can freeze or fry if you don’t pay attention and if you don’t vent or close when necessary. However, they can extend your garden season and help your planting schedule. I highly recommend them.
Noel, This is Bob from fredonia wi, Does fishing line work for deer if you place the line 3ft from bottom of posts From coming into the garden. Tryin ti advoid putting up a fence.
Does putting up fishing line 3ft up from bottom help keep deer out of garden. What would help. Bob
Hi Bob. I have no idea if a 3′ line is sufficient, but I’m guessing not. I’ve been using some electronic repellers that use a bait to attract deer. The deer lick the bait which gives them a shock that’s supposed to scare them away. Sort of works, but not fool-proof. I’m going to experiment this year with a bottled repellent to spray outside the garden borders. There is a lot of info on the web on what might work. Unfortunately, nothing works like a fence, but putting up a fence is a pain. Most years, I’ve been lucky, but forgoing a fence is living on the edge.
When are you going to retire?
I still have a 20 acre farm with a huge pole barn, but last year I found out that I have prostate cancer. After 8 weeks of radiation therapy I beat it. I now am trying to get strength and memory back so I can get back in the garden.