I took advantage of some really warm April days to set up my low hoop tunnel. Several years ago I stopped doing an additional potting off of my seedling starts and instead I’ve been placing the small starts directly in the soil of a bed covered with a low tunnel.
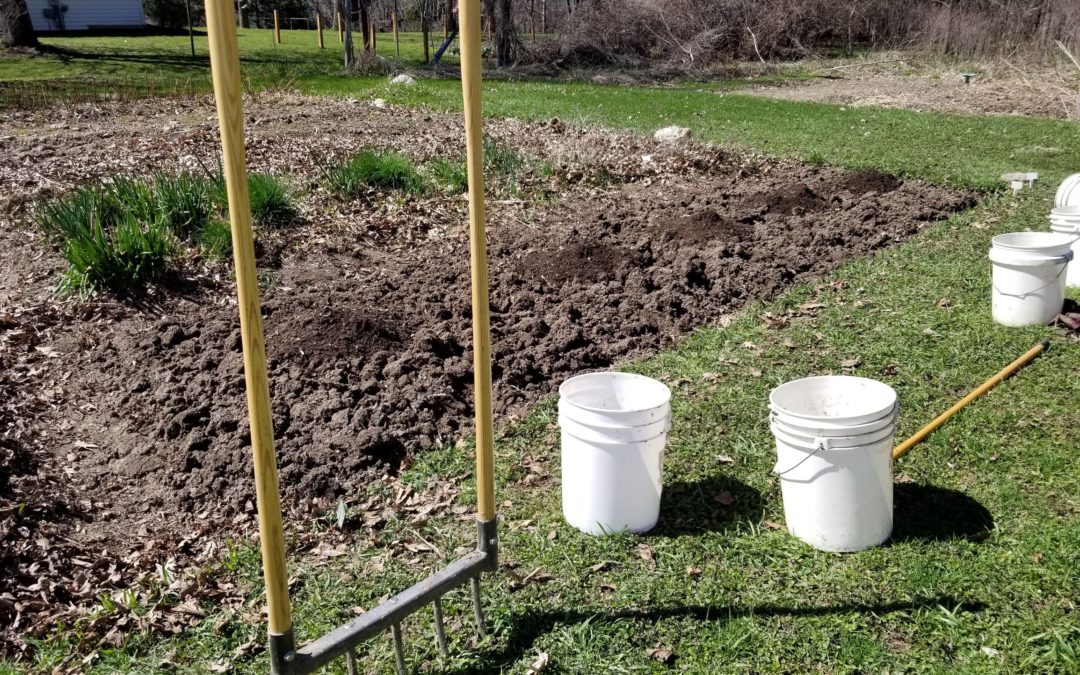
I first had to clean off a leaf covered bed and loosen up the compacted soil with a broadfork. I then added 25 gallons of composted soil.
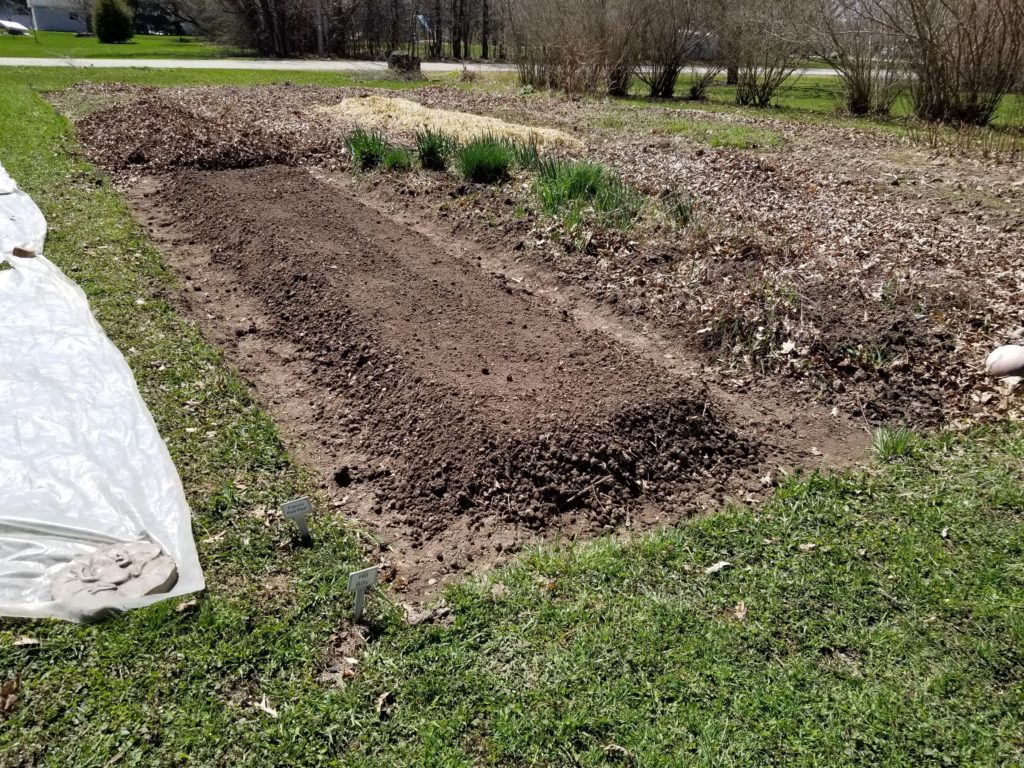
I had to work in the compost and shape up the bed. These beds are 20 feet long and 5 feet wide.
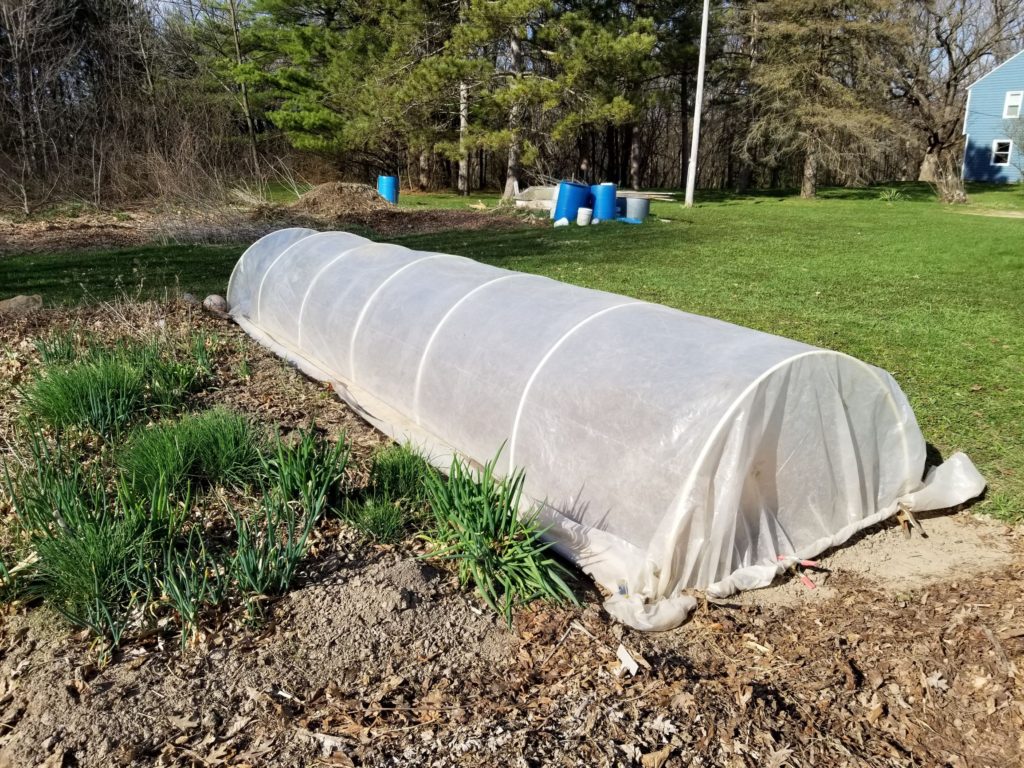
Here is the bed with the tunnel in place. The advantages of this method are huge – re-potting dozens of plants is eliminated and the seedlings planted directly in the bed get acclimatized faster and grow much larger than they would if moved to another pot. This also eliminates moving large volumes of plants outdoors and indoors daily.
The disadvantage of using the hoop tunnel is that you must be there daily for the plants. One day in the tunnel without opening up the tunnel for venting will quickly fry all your plants. But this is about the fifth year of doing this method and I’ve had no problems. It truly makes my gardening easier.


I would be interested in how you make the tunnel. No fabric sags show. What size pvc and how to bend/attach it?
This is a good article.
Here are some other posts on tunnels. If I didn’t invest in a bunch of PVC tubing along time ago, I’d seriously think of using metal conduit rods instead of
PVC for both the strength/longevity and environmental aspects. In any case, tunnels are very easy to set up and if you want to get creative, some easy opening end doors for venting would be a big plus.
3/8″ ID PVC tubing
https://blog.cobrahead.com/2015/05/25/low-hoop-tunnels-for-easier-vegetable-starts/
https://blog.cobrahead.com/2012/05/02/potting-off-to-a-hoop-tunnel/
https://blog.cobrahead.com/2009/06/28/easy-hoop-tunnel/