It’s never too late to learn something new. I’ve always wanted to try making my own sauerkraut or ‘fermented cabbage’ as they say now days. I did try making it in a quart jar a couple of years ago but when I saw a little mold on top I threw it out and never tried again. What I didn’t know at the time was that you could scrape the white mold off the top and the cabbage underneath the liquid was perfectly fine to eat.
Last spring I sat in on a fermentation workshop at Willy Street Coop in Madison, WI, with Mike Bieser of Fizzeology. He showed the group how to prepare 6 lbs of vegetables – 90% of which must be cabbage and 10% can be other veggies & herbs, for a gallon size jar of fermented goodness. Though I liked all his product types I had a particular fondness for the ‘Cortido’ which was flavored with a little lime juice, cilantro and oregano among other things, so I bought and brought home a jar of it.
I also came home with an empty gallon jar to start my own fermented cabbage and a smaller insert jar the size of a herring jar for pushing the vegetables below the liquid. Rather than buying vegetables to fill the jar I chose to wait until our garden produced the necessary ingredients.
Before I got the chance to fill up the gallon jar, Noel & I attended the Mother Earth News Fair in Seven Springs, PA, in September. Another well-known fermentation expert, Sandor Ellix Katz, aka Sandorkraut, author of ‘Wild Fermentation’ was giving a talk on Fermentation, Culture and Coevolution. Of course I had to attend – you can’t have too much information when trying the unknown!
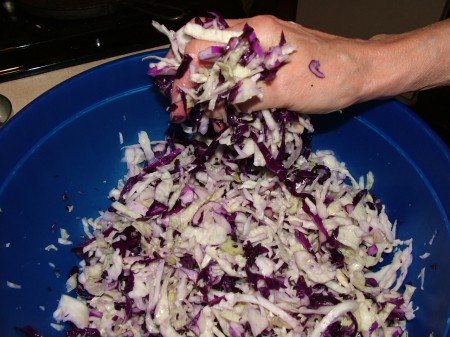
While he was talking he shredded some green and red cabbage – about 2 lbs. for a quart jar – and massaged it by hand with about a teaspoon or so of salt. After about 15-20 minutes of massaging he picked up a handful and squeezed it over the bowl. When the juices run down like you’re wringing out laundry then it’s ready to pack in the sterilized jar. He packed the cabbage down tightly and filled the jar to about ½” from the top, making sure that the liquid rose above the cabbage.
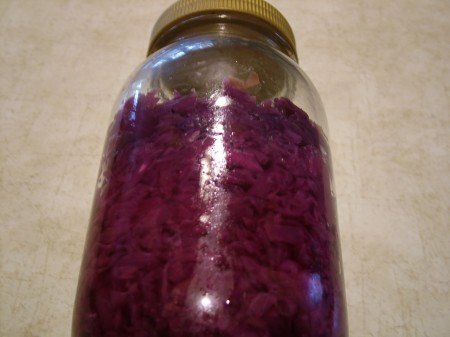
Okay, here’s where I start – with a picture of me squeezing my salt macerated home-grown cabbage. After I packed it down into the jar I used a smaller jar, to push against the cabbage. Anything clean and sterile that will keep it below the liquid can be used. If the item is tall enough, i.e. a little higher than the top of the jar, the non-metallic cover, when screwed on, will push against the jar thus squeezing the mixture down. When the cover is in place set the jar on the counter to let the cabbage ferment. The warmer the temperature the faster it ferments. Once a day loosen the cover to vent (or burp) the jar and let the gases escape.
After about 4 days the ferment can be ready to eat. Taste it and see what you think, making sure to pack remaining cabbage down below the liquid. You can refrigerate it at this point or continue to let it ferment more at room temperature. It will get more acidic and sour and softer the longer it is not refrigerated. It’s all a matter of experimentation and taste!


Yummy looks really good….. send me some ha ha
Sue
will be my first year to make red cabbage in the crock,,,,,,,i use a 10 gallon crock like my passed friend used,,,,,stick in the basement about 6 weeks,,,,,,,go down one time to make sure all is good,,,,,,pull it out and can it,,,,,,everyone says its the best they ever had,,,,,,,that red looks sooooo yummie, donk know why i didnt do that before,,,,,,,,,,,,,,,love your site
This is great. I only made sauerkraut once a long time ago and the method I used from an old canning book said to layer it with a lot more salt than that. I love sauerkraut and thought I couldn’t eat it anymore because I have to limit my salt intake.