In October I wrote about the project that I did with Save Our Youth making self-watering planters out of reclaimed five gallon buckets. You can read the original post here. I decided to modify the original design and turn it into a strawberry planter.
First a note about strawberries in Austin: They are normally planted in the fall here and treated as an annual crop. I’m a little late in my planting this year. The plants fruit in the spring, but rarely survive Austin’s extreme summers, even with ample watering. Therefore rather than spacing new plants further apart and allowing them to fill in via runners, a tighter spacing is used and runners are discouraged.
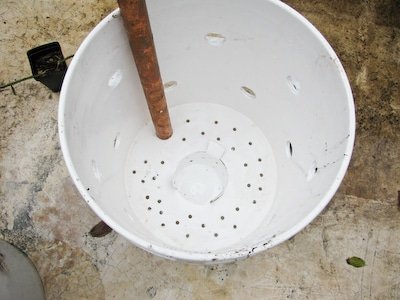
In the container that I built, I use a similar tight spacing, placing the bare root plants about five inches apart. To build this container, follow the original steps for a self-watering planter. See my post above or look at a video of Mike Lieberman’s original design here.
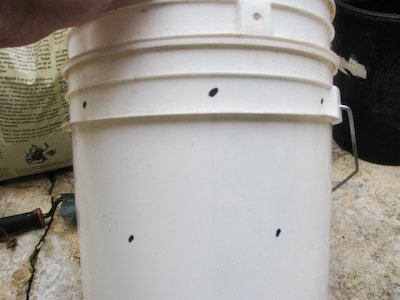
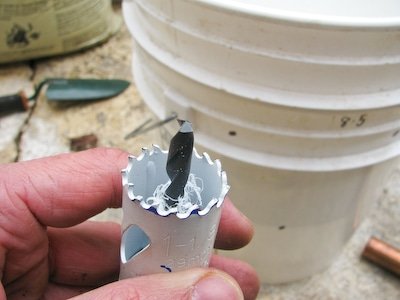
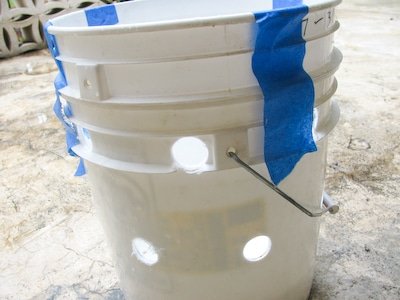
Make the markings for two rows of holes one about four inches from the top and another one four inches below the first row. Mark the holes five inches apart in each row and offset the holes on the bottom row. This gives seven holes per row. Use the same 1 1/8” hole saw used to cut the hole for the watering pipe in the original planter. Since you will have to cut through both buckets, tape the buckets together first to keep them from sliding around.
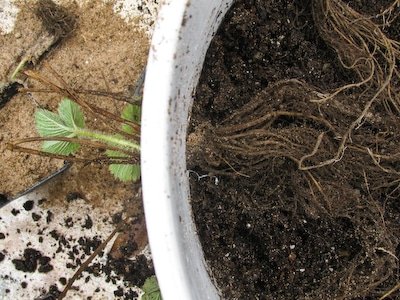
Once finished with the holes, fill the container with pre-moistened potting mix up to the first line of openings. Then carefully place the bare-root strawberry plants (in my case Chandler variety) in each aperture, getting the crown in line with the wall of the container. Spread the roots out as much as possible. Once one row of plants is in place add more potting soil, gently tamp it down and fill to the next level. With the second row complete, add another six plants on the top surface and water them in. Fill the reservoir via the copper pipe until water begins to spill from the overflow hole.
I’ll cover the container if we are going to get an exceptional cold snap or move it to a protected area, but otherwise it will stay on my front porch. Come next summer, I’ll move it to a shady location to see if I can get the plants to survive the heat. Strawberries can fruit as early as March in Austin. Hopefully I will have some juicy berries in a few months.

